New clients! For a limited time, Get 13 Classes for $78 (only $6 per class)

The Method
Raise the Barre with the Riser
July 16, 2018
The Bar Method stands apart because it is safe, smart, and personal. It was created under the guidance of physical therapists to ensure it is safe and effective for students spanning a wide range of abilities including those with physical limitations and injuries. We understand that our bodies are unique and our individual needs differ. It’s for these reasons we are giving props to our props this month, and in this post specifically – our risers. The risers are fast becoming our favorite prop for modifications and with good reason. They provide excellent support in pretzel, round-back, and curl to name a few. Below, check out the many ways our risers help students with different limitations and body types raise the barre.
1. Wrist Discomfort:
Many students experience wrist pain during pushups and reverse pushups, and therefore opt to modify at the barre (for pushups), or with a weight overhead (for reverse pushups). When in fact, the riser can often alleviate shoulder and wrist discomfort, and help students with longer torsos or shorter arms effectively execute these exercises as they were designed to be performed. In many cases, using the riser is more effective at building strength while keeping the underlying joints safe. If you deal with wrist discomfort, try using the riser under your hands. Do a few reps at a time and take a break when needed. You will soon build up the strength to do more reps over time.
2. Petite:
The riser can do wonders for petite students during chair, kneeling seat, round-back, flat-back, and more. In chair, the extra height shifts students shoulders above the barre, which allows them to put all of the emphasis in their thighs versus their joints. This makes chair more comfortable and effective. In kneeling seat, the riser is the jack of all trades helping students with tight hamstrings, limited flexibility, knee discomfort, long legs, and short torsos get the leverage they need to raise the barre on their form and effectively sculpt their glutes. Lastly, using the riser for height or hip comfort in round-back and flat-back is more common than not. Risers help students feel successful by allowing them to lift their feet with less effort or discomfort in their hips, hamstrings, and shoulders. If you’re petite, try a riser or two in round-back and flat-back to achieve better form. Don’t forget to breathe!
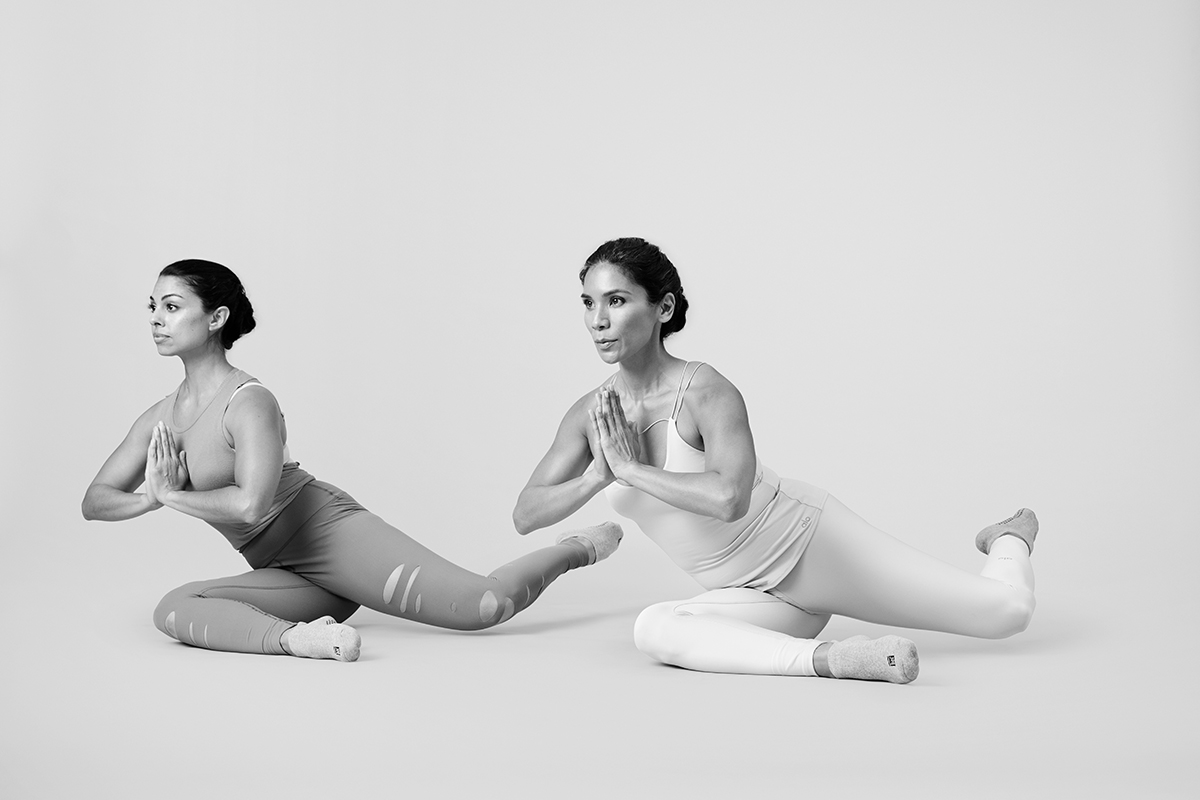
3. Tight Back:
Most of us suffer from some degree of back tightness or core weakness. It’s difficult to recruit the abdominals. They are paper-thin muscles, so they are hard for students to engage and feel at first. It can be a frustrating process to get them to turn on. Placing a riser under the back of the large mat for curl helps students hold an effective bend at the waist without co-contracting the neck and shoulders. If you feel neck discomfort during curl, it’s likely this is happening and you need to add back support to help you reconnect with your abdominals. Focus your breathing and you’ll be well on your way to flat abs in no time.
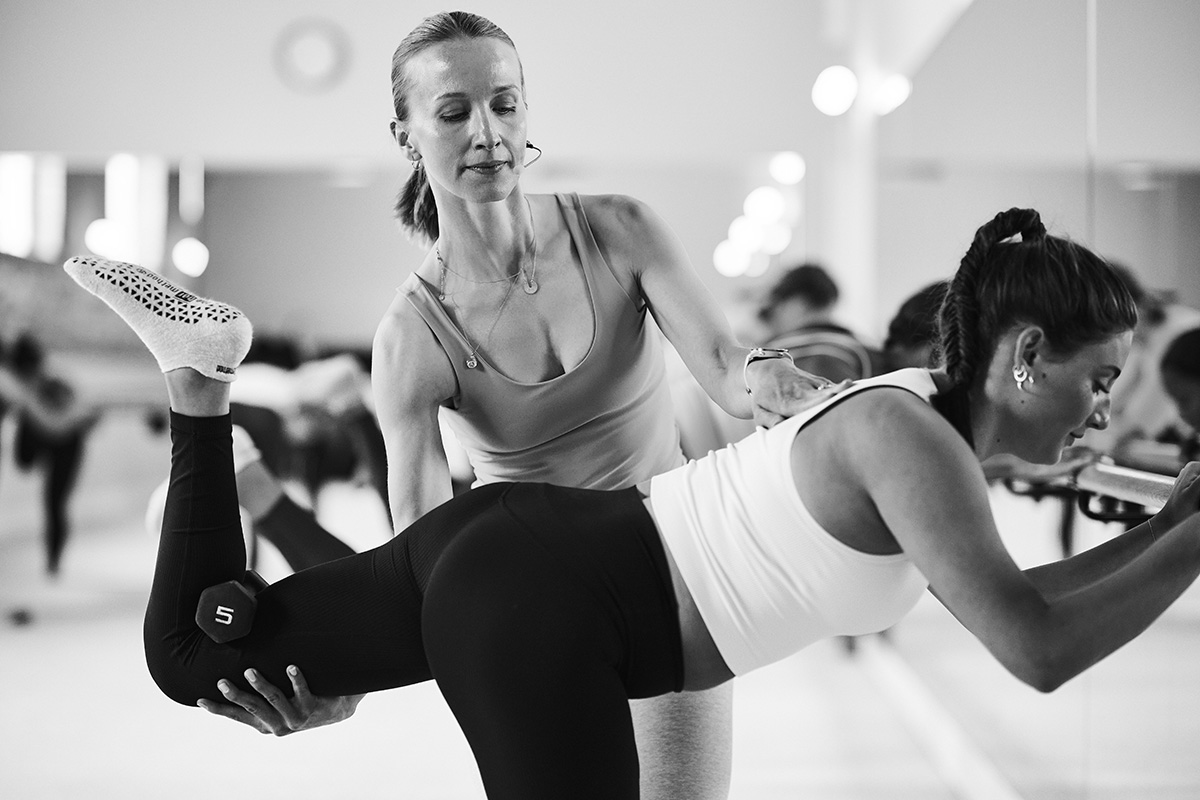
4. Pregnant:
Our favorite use of the riser is for pre and post-natal students. We believe that exercise is important for healthy, pregnant women to feel empowered, strong, and in charge of their bodies during their pregnancy. However, we know it’s not always easy to keep up with regular workouts and feel successful during workouts with a baby on board. The riser makes it possible for pre and post-natal students to successfully take a Bar Method class throughout her pregnancy and after, with her doctor’s clearance. In round-back and curl, we suggest students at or after 20 weeks into their pregnancy use 3-4 risers behind her back to keep her pelvis tilted forward in an effort to support proper blood flow throughout the body as the uterus grows and puts additional pressure on the aorta and vena cava. During round-back use a strap over the extended foot to focus on pulling in your abs and engaging your upper back while stretching your working leg.